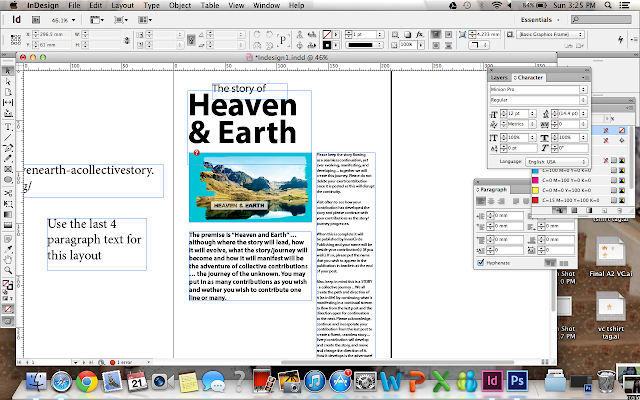
Before using the software, we edited an image on Photoshop first. Below is the result of our first activity. It was supposed to be "Heaven & Earth", but we were free to play around with the tools hence I typed my name instead.
We then proceeded to execute our first brochure, in which the content is ready for us to use.
The last picture above is the final product of our brochure. The blue lines are the guides for me to check the grids and alignments of the brochure. It can be made invisible and will not appear after printing.
This week's lesson was tough at first because of the editing of the photo. We edited the image on photoshop before opening it in Indesign. However, I could really feel the sense of achievement after completing the brochure at the end of the day although we only followed through the lesson.
The tutorial made me consider a few things to be kept in mind while doing my CA2. I would need to ensure that the font is appropriate, followed by the spacing of the fonts. Lastly, I need to ensure that I deselect the hyphenate bar. I prefer my texts to be non-hyphenated as it will be easier to read.
However, this activity made me realise that it is alright if my brochure is simple, as long as it is neat and the key message of the brochure is brought across. As long as the brochure design is simple and appropriate, it will be fine. This leads me to decide on a simple and neat corporate brochure, instead of one with fancy designs.


No comments:
Post a Comment